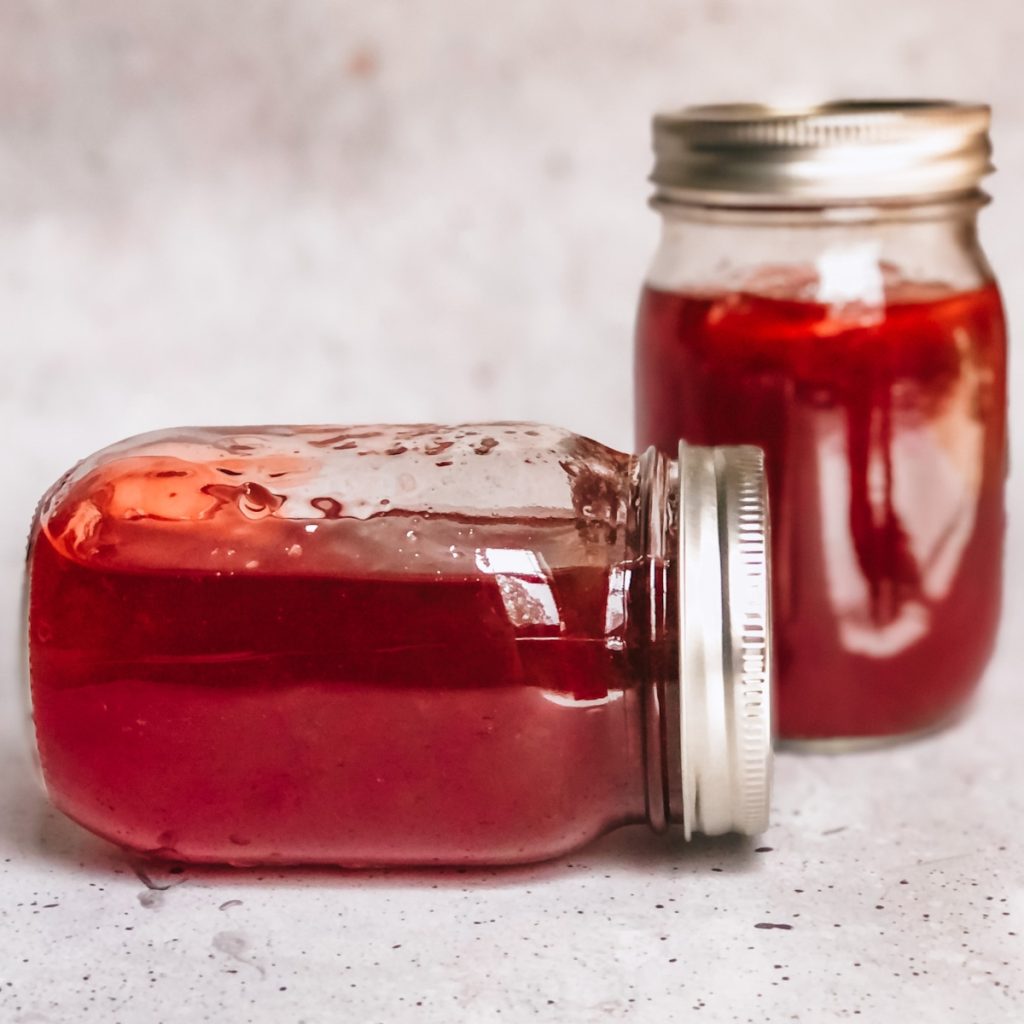
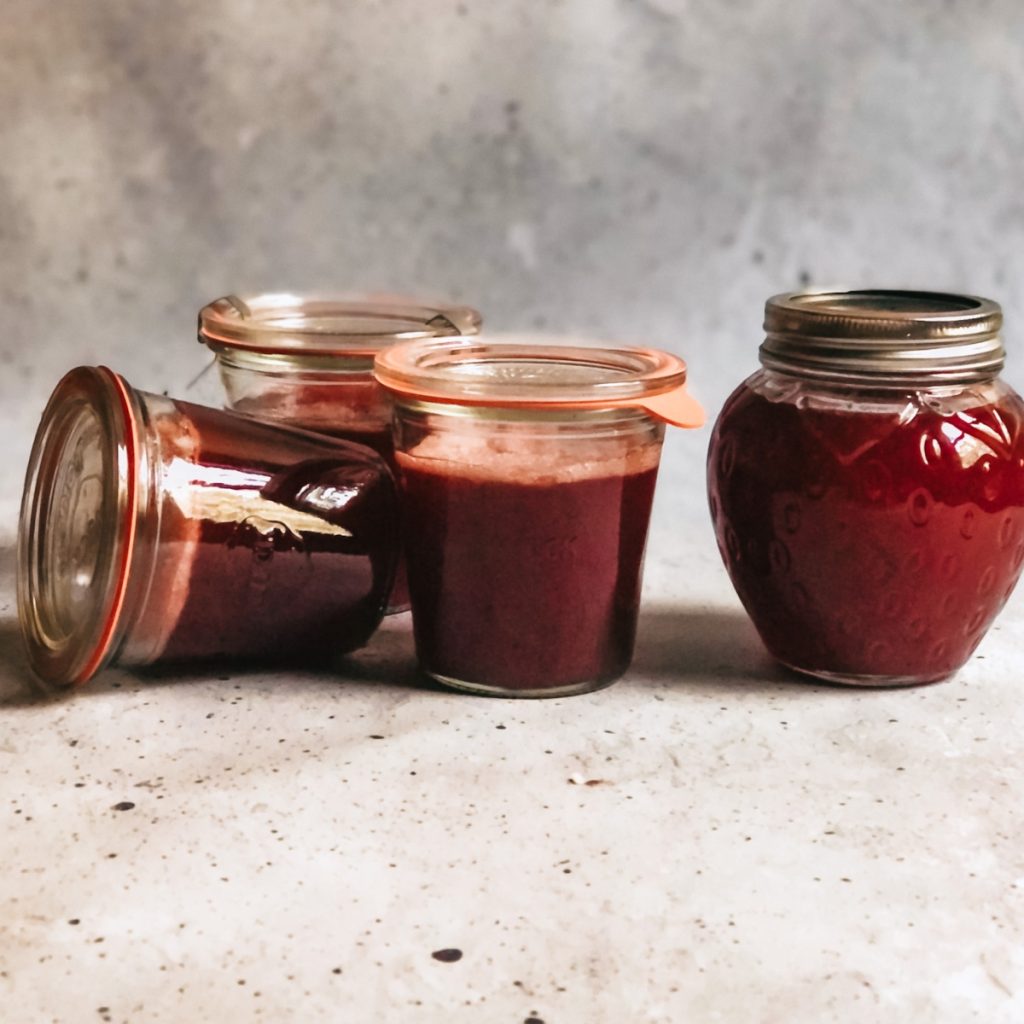
If you have ever went through the time and effort to make homemade jelly you can only imagine how frustrating it would be for it to not set up properly. This happened to my mom recently and she is a seasoned jelly maker. You can always just keep it and use it like a syrup, it will still taste good. But if you had your heart set on jelly or wanted to give some away for gifts there is a way to fix it. My mom and I tried a few different methods to fix the jelly that did not set up and found one that works and it was actually the easiest of the two we tried.

Why Jelly Sometimes Doesn’t Set
You need to give your jelly at least a full 24 hours to determine if it has set up properly. If it has not there can be several reasons for this.
- Under or overcooking- Make sure you boil your juice, sugar, and pectin for the exact amount of time your recipe says to.
- More than doubling the recipe- I have found success with doubling a recipe but never try to make more than a double batch. It takes the mixture longer to heat up and this can cause some of the pectin to be overcooked.
- Pectin that has gone bad- Check expiration dates on your pectin to make sure it is still good. You want to make sure that you are storing your pectin in a place that is free from moisture and heat.
- Incorrect measurements- Make sure your measurements are exact for the pectin, water, and fruit juice. Adding even a small amount of juice or water more than the recipe calls for can make your jelly not set up.
Sometimes you can seemingly do everything right and the jelly still might not set up. We never could figure out why my Mom’s plum jelly did not set the first time.
What I Tried and What Worked
We tried re-cooking the jelly using the Sure-jell method on the insert. It did seem to thicken the jelly but it was a more difficult process. Then we tried using Ball low or no sugar needed pectin and it worked wonderfully! You can go to their pectin calculator on their website and select the type of fruit you are using. It will then tell you the correct ratio of juice, pectin, and sugar. For fixing jelly that did not set I have found that 1 tablespoon of pectin per cup of juice works well and should work no matter the type of juice you are using. No need to add more sugar!

The first step is to empty out and sanitize your jars. You’ll also need to start with brand new flats so they will seal properly. Measure out 4 cups of unset jelly and add it to a large saucepan. Add 4 tablespoons Ball low or no sugar pectin and whisk until completely combined. Turn your stove on to medium/high heat and bring mixture to a full rolling boil while stirring constantly. Boil hard for 1 minute continuing to stir constantly. Remove from heat. You can now fill your jars and process them again. I processed my jars according to the instructions on the Ball website.
How to Fix Runny Jelly
Ingredients
- 4 Tbsp Low or No Sugar Pectin (I use Ball brand powdered low or no sugar pectin)
- 4 cups Unset Jelly
Instructions
- In a medium/large saucepan wish together the powdered pectin and unset jelly until very well combined and no clumps of pectin are present.
- On medium heat, stir constantly and bring to a boil.
- Boil exactly 1 minute continuing to stir constantly.
- Remove from heat. Fill sterilized jars leaving 1/2 inch headspace. Process in a water bath 10 minutes or store in the refrigerator for quicker use.
