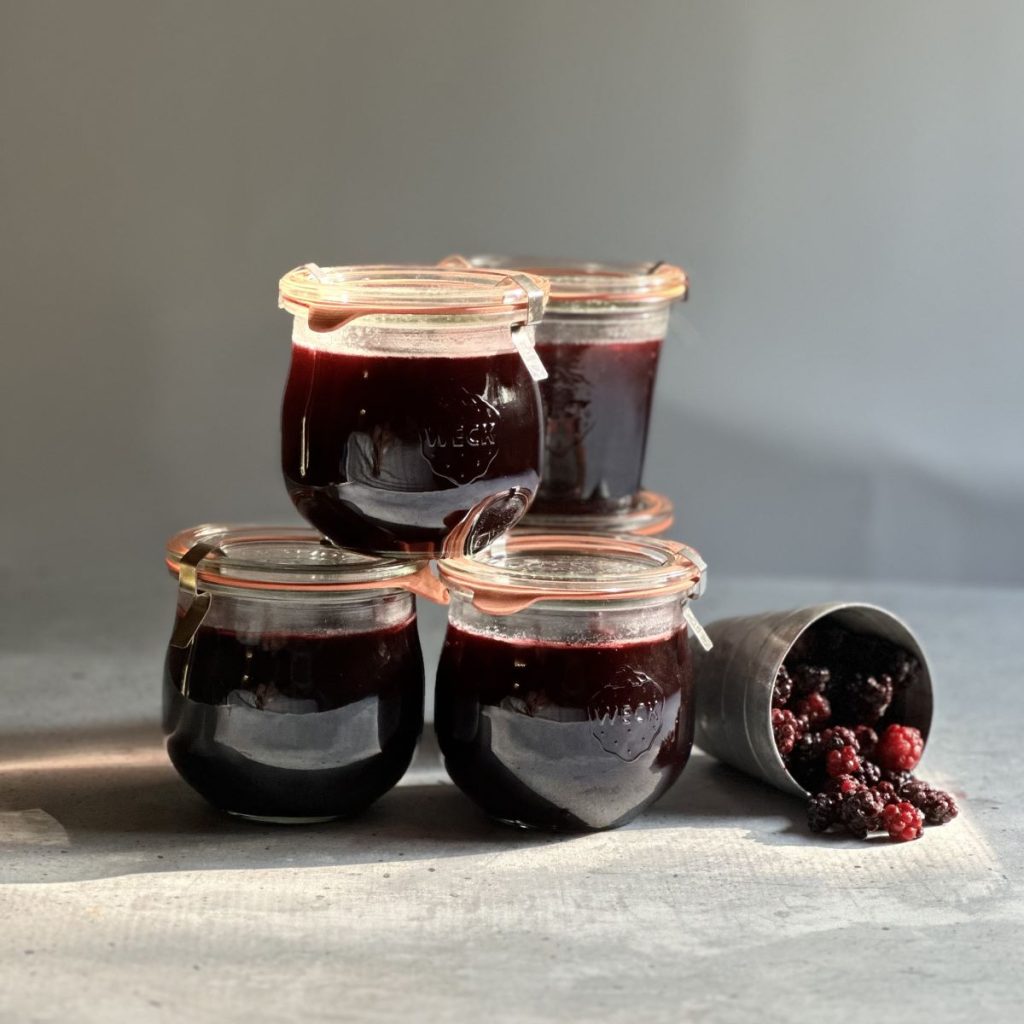
What is better than ripe, freshly picked blackberries? I’ll walk you through how to make blackberry jelly (no seeds) step by step. This post contains all the tips and tricks that a beginner would need to try their hand at jelly making. What a great way to enjoy those delicious blackberries all year long.
The wild blackberries in my area ripen in stages. I will pick them as they ripen and store in the freezer for couple of weeks until I am ready to make my jelly.
Making Blackberry Jelly: Step by Step
I follow the recipe for blackberry jelly on the insert of Sure-Jell less or no sugar needed pectin. The box will say that specifically. I like this variation better than the original Sure-jell pectin because it is still sweet but the blackberry flavor stands out more. I will point you to the insert in the Sure-Jell box for specific ratios and cook times. However, in this blog post I want to focus more on tips and tricks to make the process easier. On the recipe insert, the instructions are fairly vague, there are no pictures, and they do not give you any tips for the process. If you are a visual learner, it can be very helpful to see the process step by step. The Sure-Jell less sugar
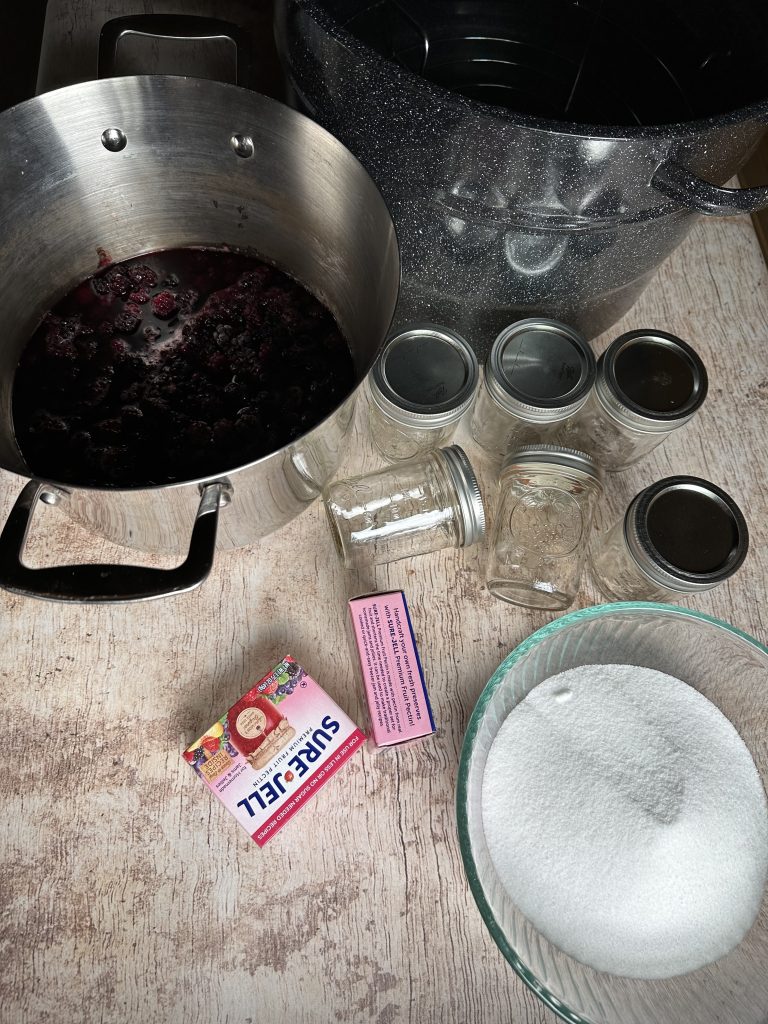
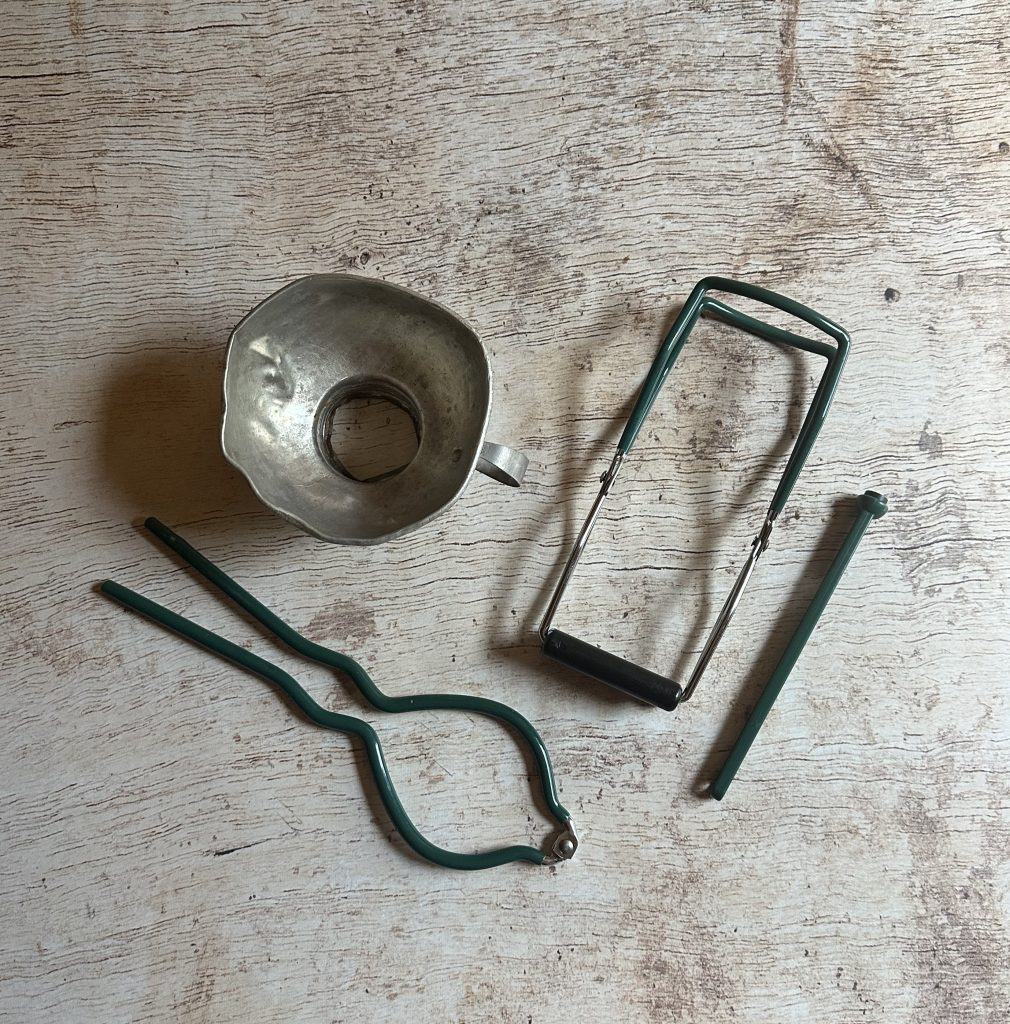
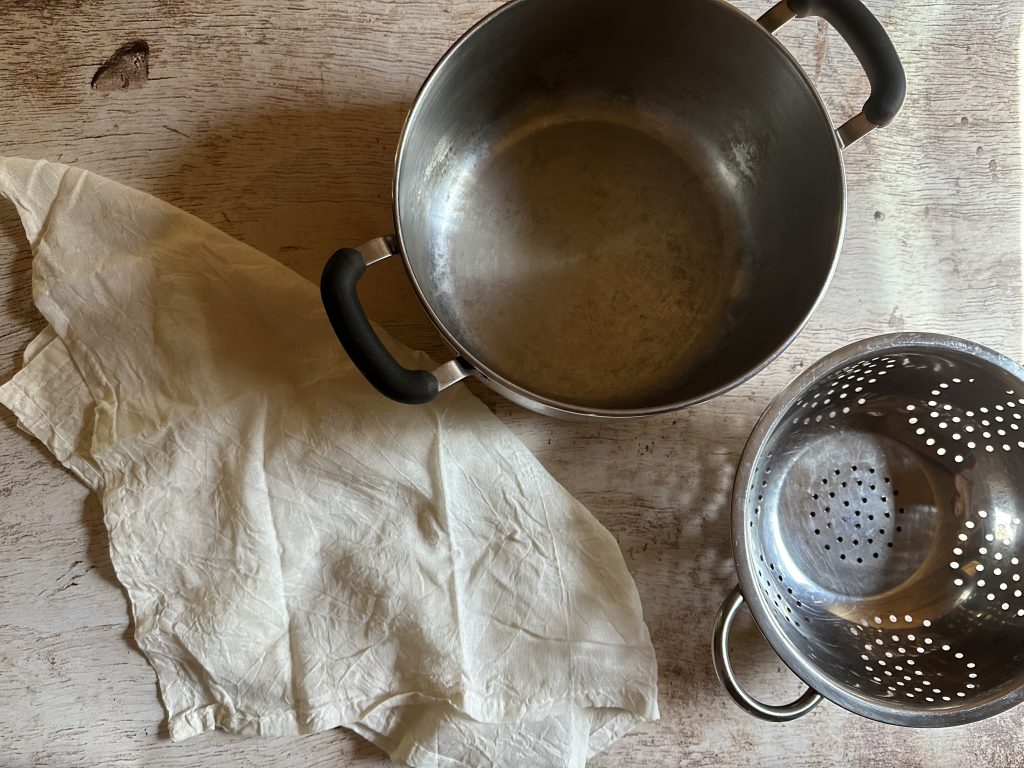
Gather Your Equipment
This process is a lot easier if you gather all your ingredients and equipment needed before you start. There is nothing worse than starting the recipe and getting half way finished before realizing you are missing something.
You will need:
- canning jars with rings and new flat lids
- a large canning pot, I have and love this one
- a large pot for processing the juice
- an additional large pot for straining the juice into
- cheesecloth
- a colander
- a funnel
- a potato masher
- jar lifter (the canning pot that I purchased came with one)
- magnet for lifting the lids out of hot water (my canning pot also came with this
- sure-jell pectin
- sugar
- blackberries
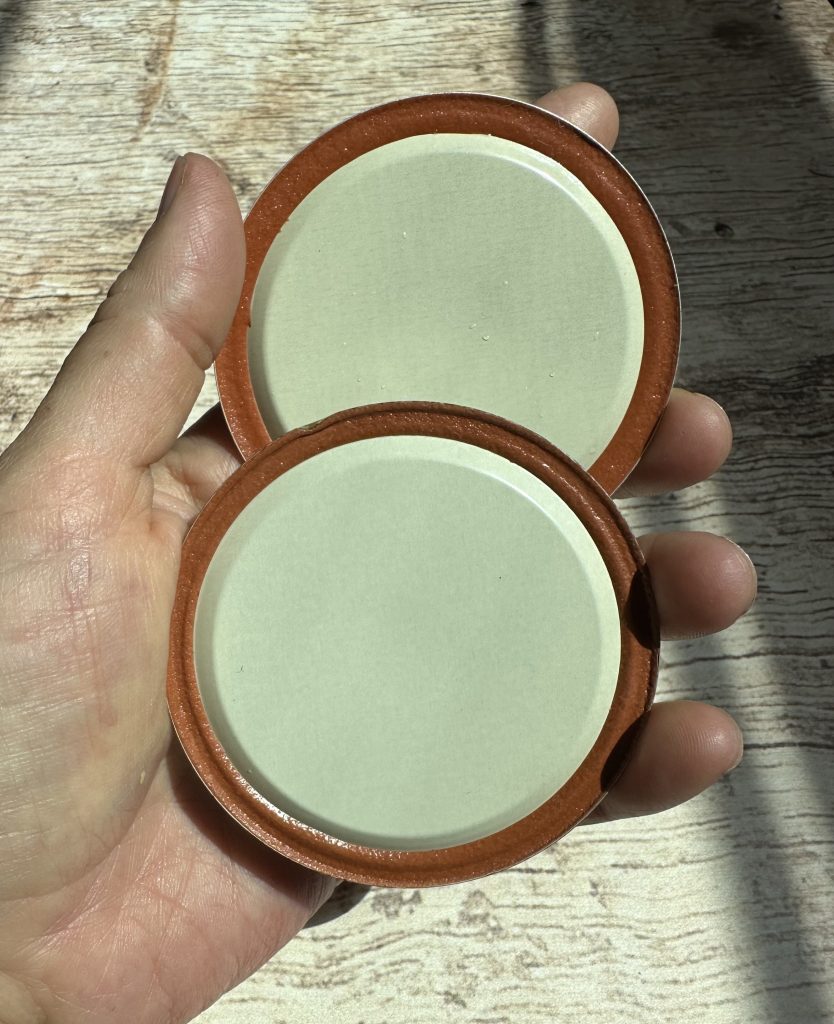
Canning Lids
One important thing to consider is your jar lids. I have used my lids more than once but it is not recommended. There is a silicone coating around the underside of the lid (usually orange in color). When the lid has been used and sealed before, there will be a circular indentation on this sealing strip. If it is used more than once, it will not seal as well eventually. You can see in the photo below that the lid on the bottom has an indentation on it from being sealed before.
Make the Blackberry Juice
You can make the juice using the blackberries straight from the freezer, no need to defrost. Just dump all the berries the recipe calls for into a large size pot with 1 cup of water. I like to use a potato masher to smash the berries as they cook.
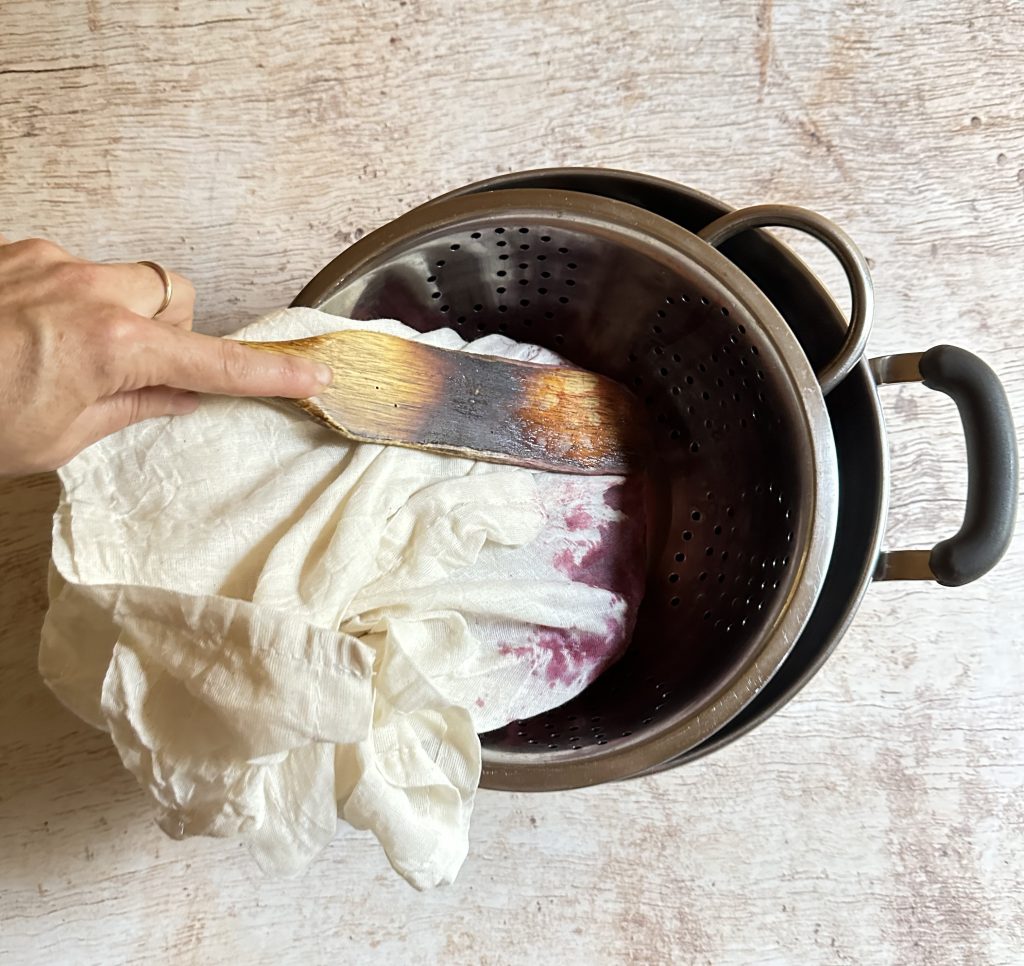
Strain the Pulp
After your berries have cooked some and the juices are released, it’s time to strain out of the juice from the solids. This is where you’ll need a colander, cheesecloth, and another pot. It works best to find a pot that your colander will fit nicely down into.
Place the colander into the top of the pot and then place two layers of cheesecloth on top of the colander. Carefully and slowly, pour the berries and the juice into the colander.
You’ll let this sit and drain for about 15 minutes. Then I gently press or squeeze the bag to get out the remaining juice. I have read that if you squeeze it too much or too hard then your jelly will be cloudy. However, I have never had this issue.
Mix Blackberry Jelly and Process Jars
Next, take the blackberry juice and measure out the exact amount listed on the recipe. You should have close to the exact amount needed. If you have extra, just save it in the refrigerator for another batch. Or, freeze it and use for holistic purposes. Wild blackberry juice is known to have anti-inflammatory properties. Follow the ratios and cook times exactly so you can be sure that your jelly sets up the right way. Process the jars in a water bath canner according the directions on the insert. If you use these tips and tricks and follow the insert ratios exactly, I know that your jelly will turn out great. If for some reason your jelly does not setup, I have a blog post on how to fix that. Read it here. Happy jelly making!