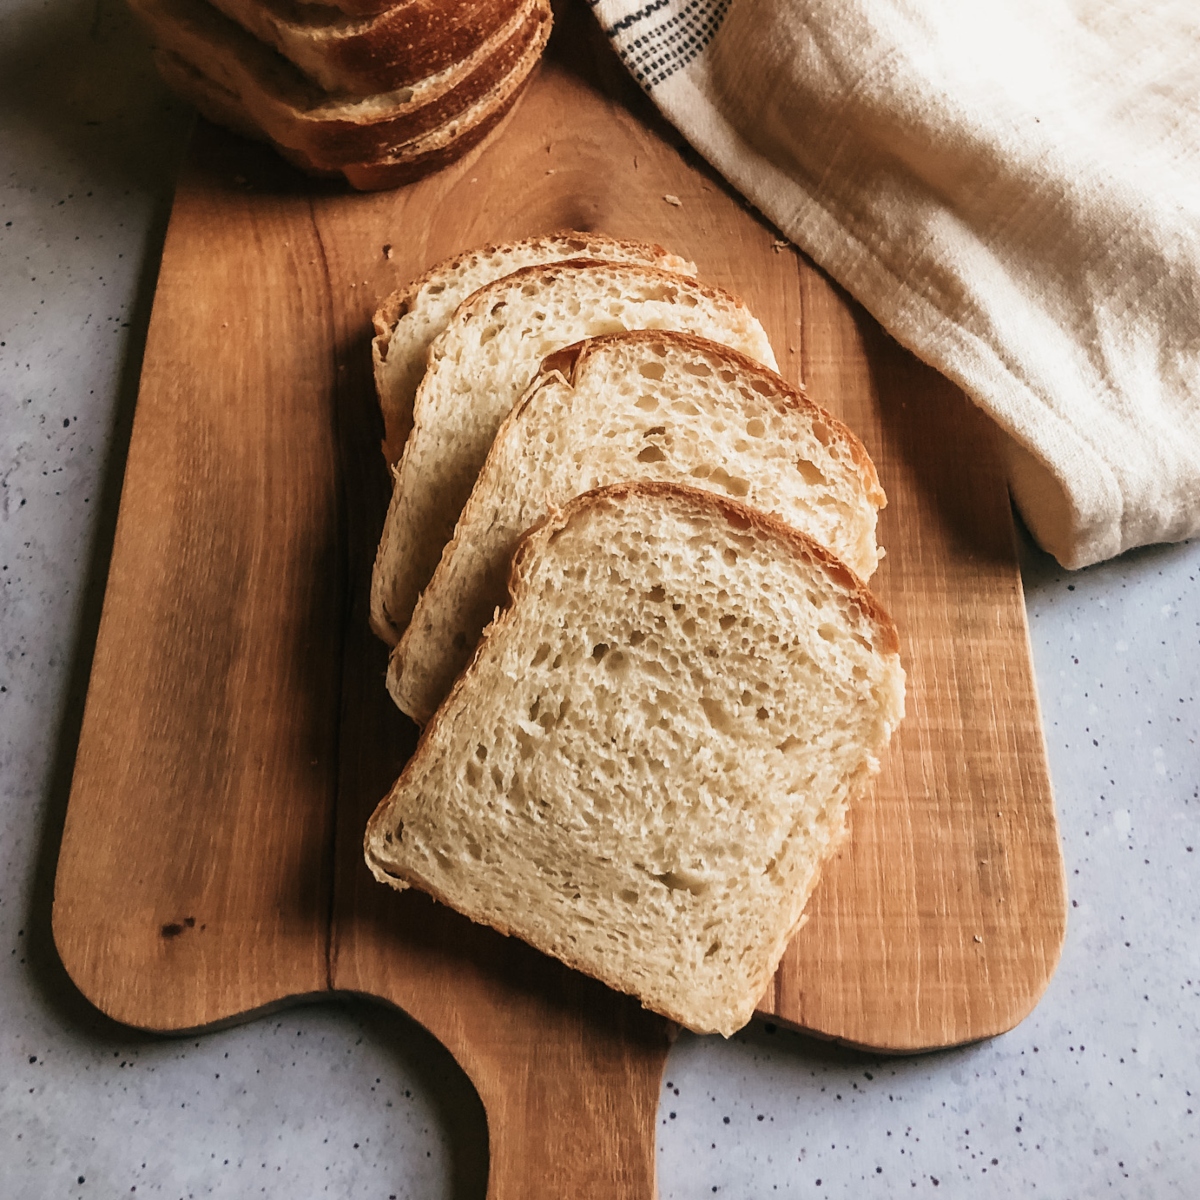
This sourdough sandwich bread is soft textured with a rich buttery taste. It’s so versatile and can be used for any type of sandwich or toast. This is definitely a staple in our house and I always have a loaf or two in the freezer on backup.
Tips and Tricks for Sourdough Sandwich Bread
- Use a kitchen scale for measuring ingredients. Not only does this make your measurements more exact, it’s easier and doesn’t dirty up as many measuring cups. I just use a spoon or pour my ingredients in until I’ve gotten the correct weight. I have this one and really like it.
- Watch your dough instead of the time. You want to be sure not to over proof the dough. It will result in a dense loaf that won’t hold it’s shape.
- This recipe makes two loaves. You can bake them together or and freeze one. Or, you can keep one in the refrigerator until you are ready to bake it. I wouldn’t keep it refrigerator longer than 3-4 days or it might over proof.
- I use a stand mixer for this recipe. If you do not have a stand mixer you can totally make this in a regular bowl. Just mix well using a wooden spoon or spatula and then hand knead during the knead portion.
Ingredients
- sourdough starter (fed and ripe)
- water
- all purpose or bread flour (sometimes I use a mixture of both)
- dry powdered milk
- sugar or honey
- salt
- softened butter
Sourdough Sandwich Bread: The Process
To make this sourdough sandwich bread start by mixing starter, water, and honey (or sugar), together in the bowl of a stand mixer. Add flour, dry milk, and salt. Mix using the dough hook or paddle attachment. I usually use the dough hook for the sake of dirtying up less utensils. Let sit for about 30 minutes. Next you’ll knead the dough using the dough hook. Put your mixer on medium low and add the butter, one tablespoon at a time. Let each piece of butter mostly mix in the dough before adding the next.
First Proof
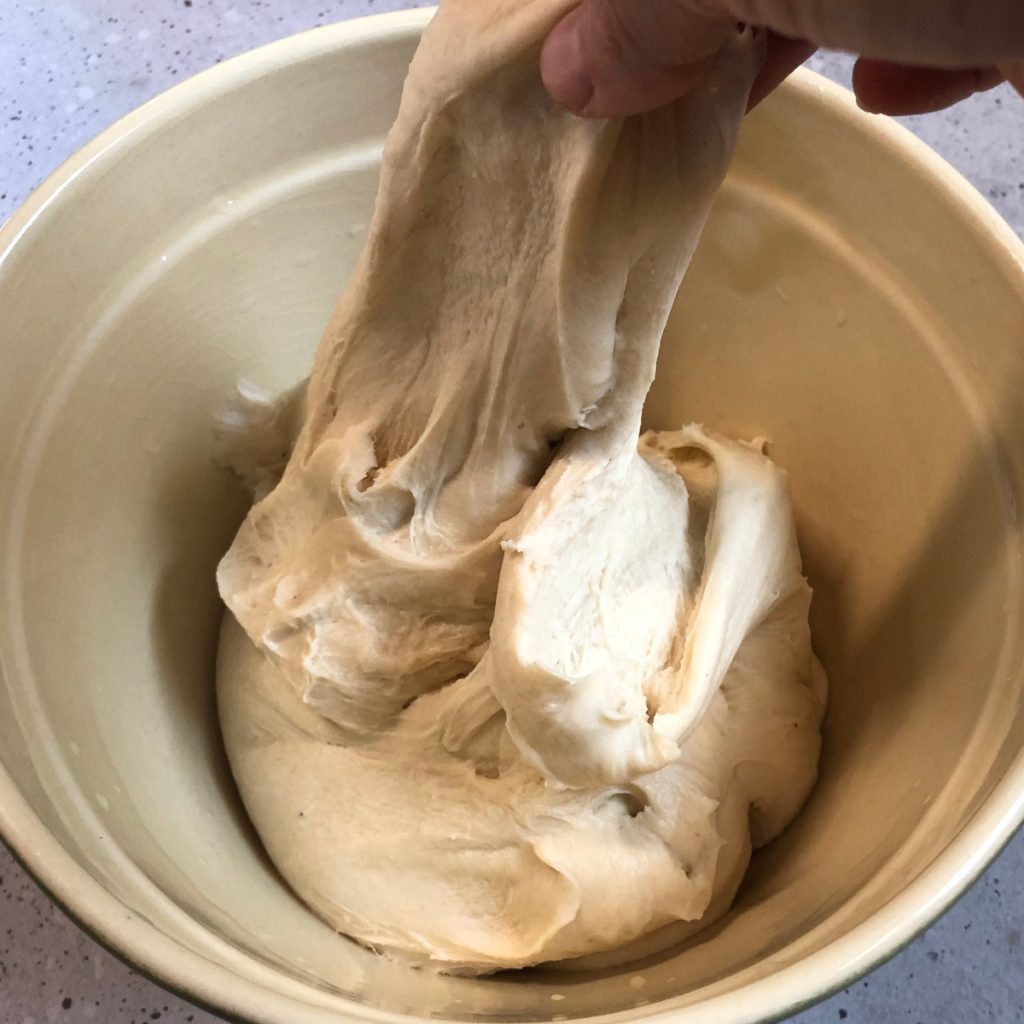
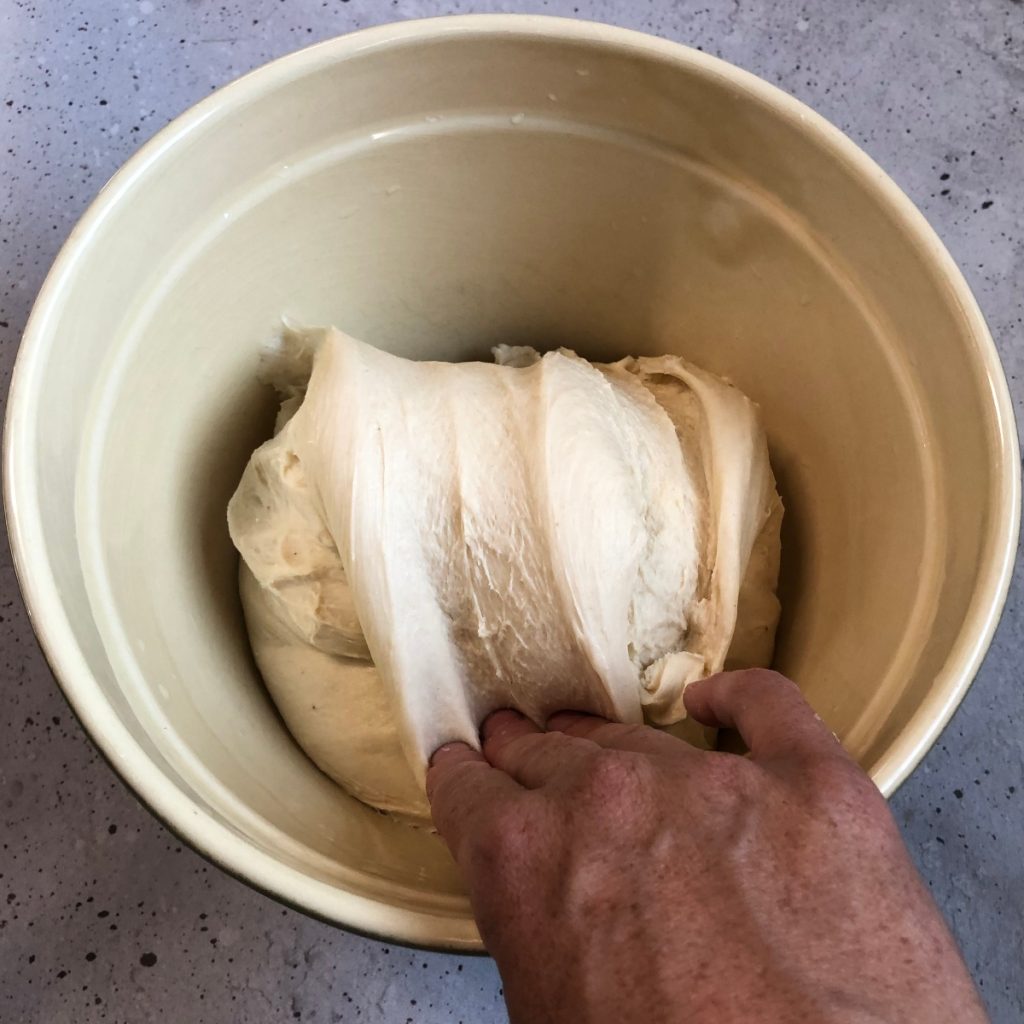
Cover bowl and let the dough double in size. If desired, perform 3-4 sets of stretch and folds during the first 4 hours of rise time. Space these about an hour apart. This isn’t entirely necessary but does help add some structure to the dough.
Shaping
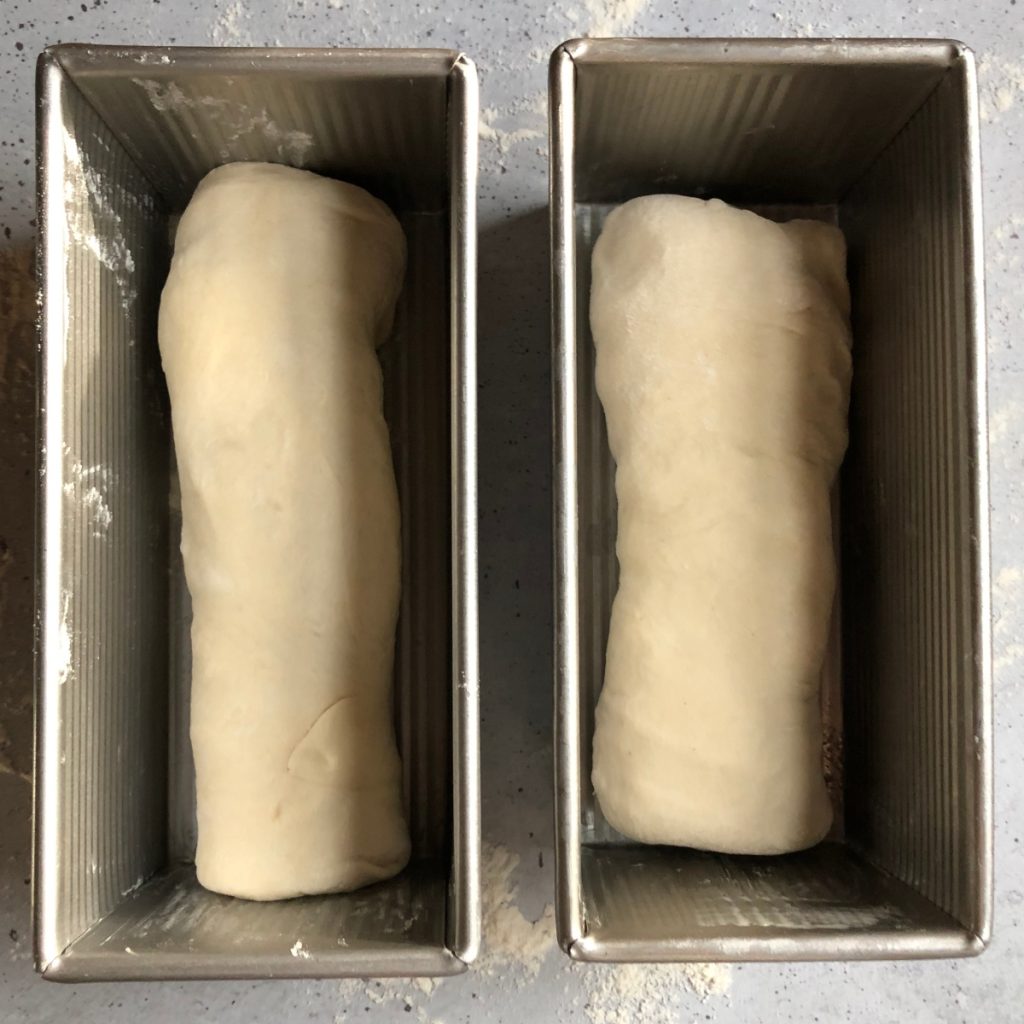
After the dough has doubled in size you’ll want to divide and shape your dough. I like to stretch my dough out onto a lightly floured countertop then roughly divide in half. Then I fold my ends inward to match the length of my bread pans. Then roll the dough up into a tight loaf. Place into a buttered loaf pan with the seam side down.
Second Rise and Bake
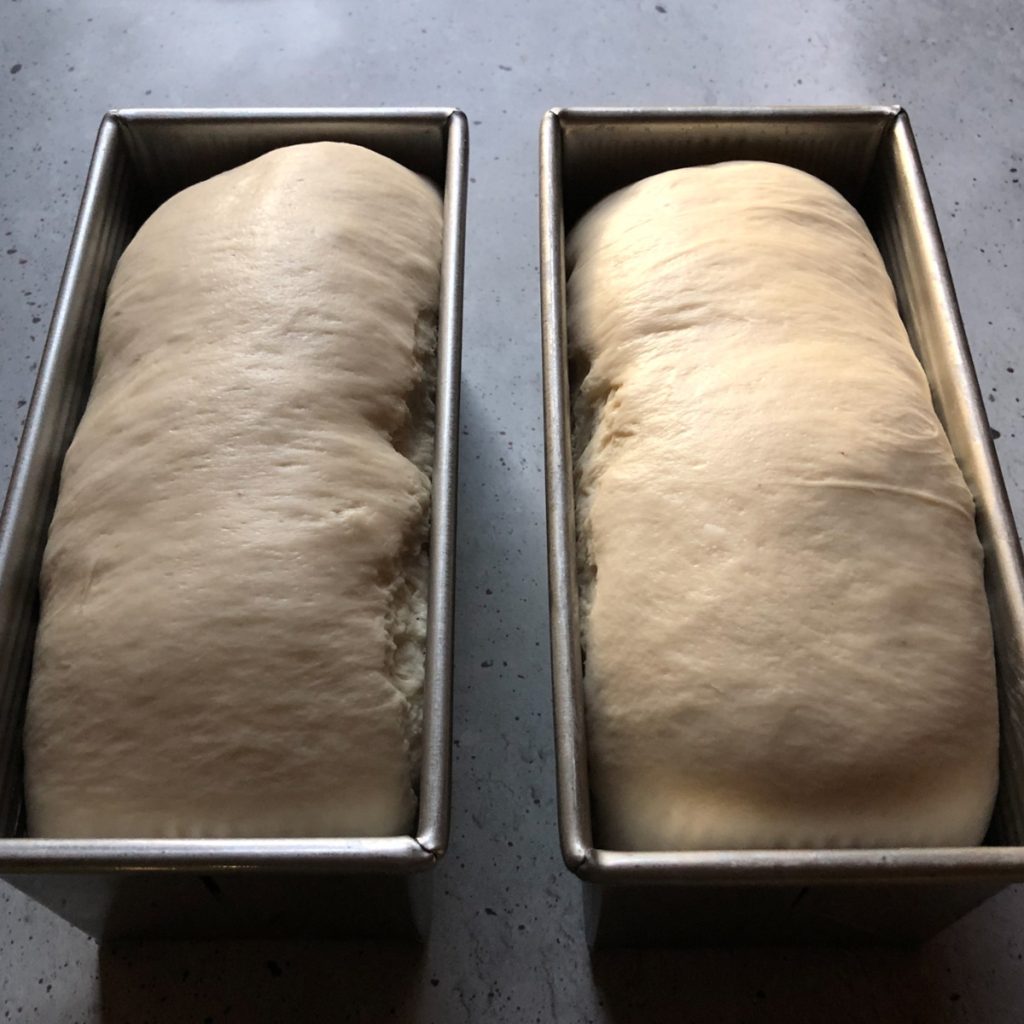
Cover with buttered or sprayed plastic wrap and let rise until very puffy and about 1 inch over the top of the loaf pan. This will vary in time depending on the temperature of your kitchen. You can also put your extra loaf into the refrigerator for a few days until you’re ready to bake it. I would put it in the refrigerator when it is almost even with the top of the pan to prevent it from over proofing. Preheat oven to 350. For higher oven spring you can start the oven at 400, bake for 10 minutes, then reduce temperature to 350 for the remainder of the baking time. Turn the loaves out onto a wire rack to cool and enjoy!

Sourdough Sandwich Bread
Ingredients
- 227 grams sourdough starter about 1 cup
- 1 2/3 cup water 376 grams
- 1/4 cup sugar or honey 50 grams
- 5 1/2 cups all purpose or bread flour 660 grams
- 42 grams dry milk a heaping 1/4 cup
- 1.5 tsp salt 15 grams
- 4 Tbsp softened butter
Instructions
Mix the dough
- In the bowl of a stand mixer fitted with a paddle attachment, combine the starter, water, and honey or sugar. mix until combined. Add flour, salt, and dry milk. Mix on low speed until flour is mostly absorbed. Cover the bowl and let dough rest 30 minutes.
- Switch to a dough hook attachment if you have one. If you do not this part can be done with the paddle attachment then you can knead the dough by hand. Add the butter about 1 Tbsp at a time, waiting until the butter is mostly mixed in before adding the next Tbsp.
First proof
- Cover the bowl and let it rise until doubled in size. This can take anywhere from 4 hours to 12 hours depending on the temperature of your kitchen. If desired, to add strength to the dough you can perform up to 4 sets of stretch and folds (see photos above) during the first 4 hours of rise time to add strength to the dough. Time these about an hour apart.
Shaping
- After the dough has doubled in size, turn it out onto a lightly floured countertop. Stretch it out into a big square or rectangle. Cut in half and set one half aside. Gently stretch the dough until it resists you. Fold sides of dough in to match the length of your loaf pan. Roll up dough into a tight log and place into a buttered or oiled loaf pan seam side down. Repeat with other half of dough.
Second rise and bake
- Cover loaf pans lightly with sprayed or buttered plastic wrap. Let them rise until very puffy and about one inch over the top of your loaf pan. Preheat oven to 350 degrees and make sure you have an oven rack positioned in the bottom third of your oven. Bake 30-40 minutes until golden brown. Turn the loaves out onto a rack to cool.
