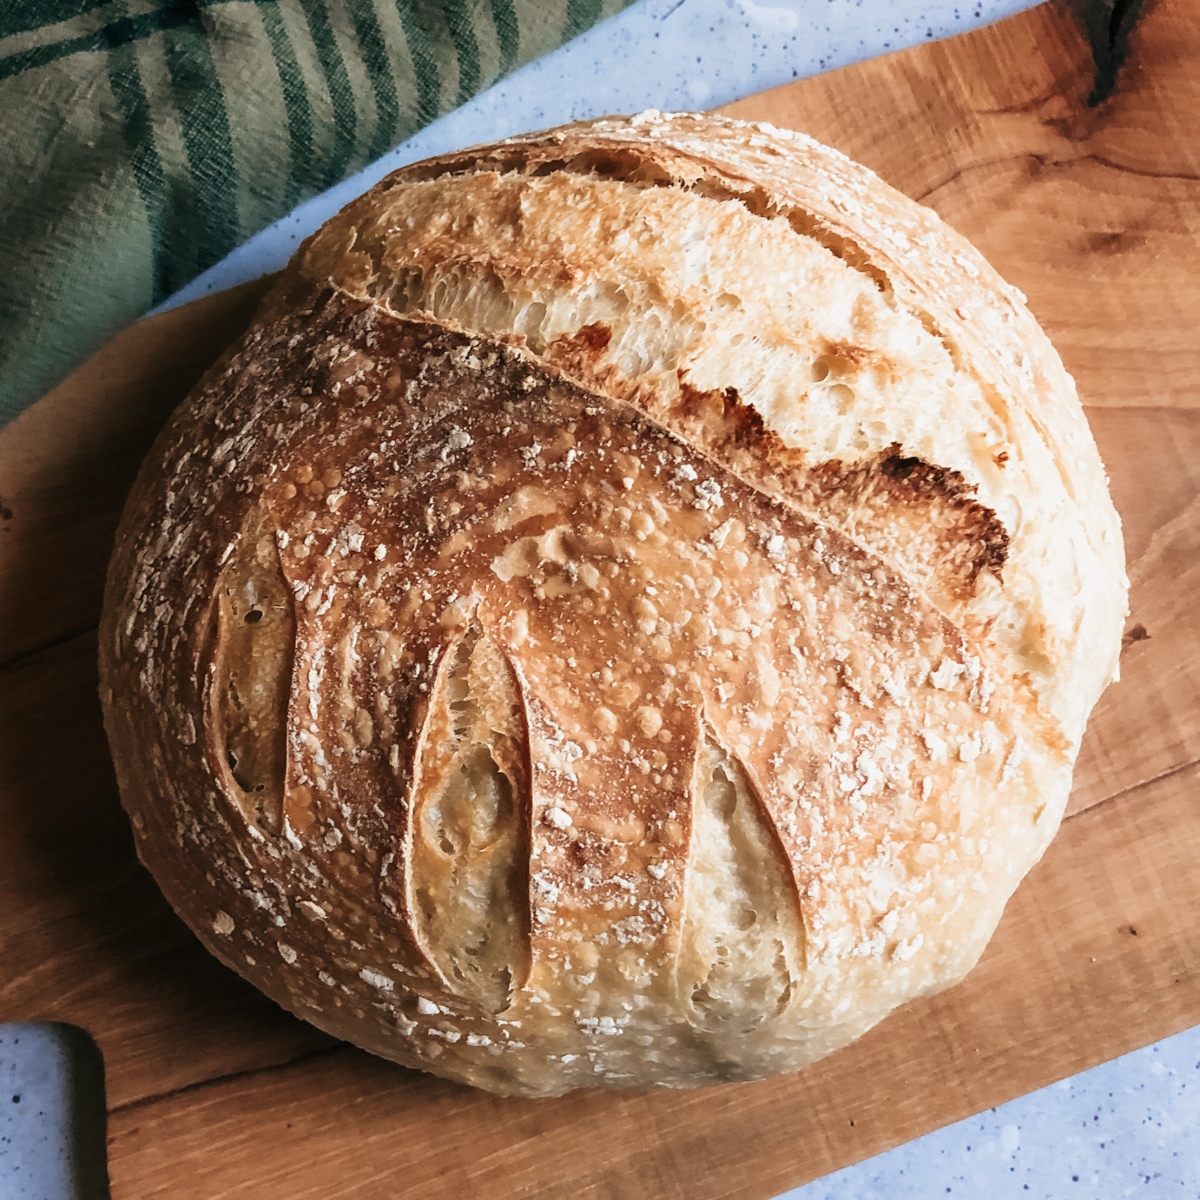
Artisan sourdough bread in a Dutch oven is really one of the easiest things you can make with your sourdough starter. I can teach you to make delicious homemade sourdough bread with only 4 ingredients. This recipe really couldn’t be any simpler. It comes together quickly with very little hands on time required. It is wonderful with any meal and it makes even better toast. My daughter enjoys it plain with a thick layer of butter on it.
What Do I Need to Make Dutch Oven Sourdough Bread?
- The first and probably most obvious thing you’ll need is sourdough starter. If you do not yet have a sourdough starter you can make your own or get some from a friend. I started my own using this blog post. It is very detailed and informative. It’s easier and quicker to get some starter from someone you know but you can definitely make your own.
- large mixing bowl
- kitchen scale- I really recommend using a kitchen scale for baking with sourdough. Starter is hard to measure by cups and you’ll also dirty less dishes using a scale. I love mine and they are fairly inexpensive to buy. I own this one and love it.
- parchment paper
- banneton or medium bowl for second rise
- dutch oven- You need a dutch oven with a lid to bake this sourdough bread. Part of the baking time will be with the lid and part of it without a lid. You can get dutch ovens pretty much anywhere nowadays. You do not need a fancy one.
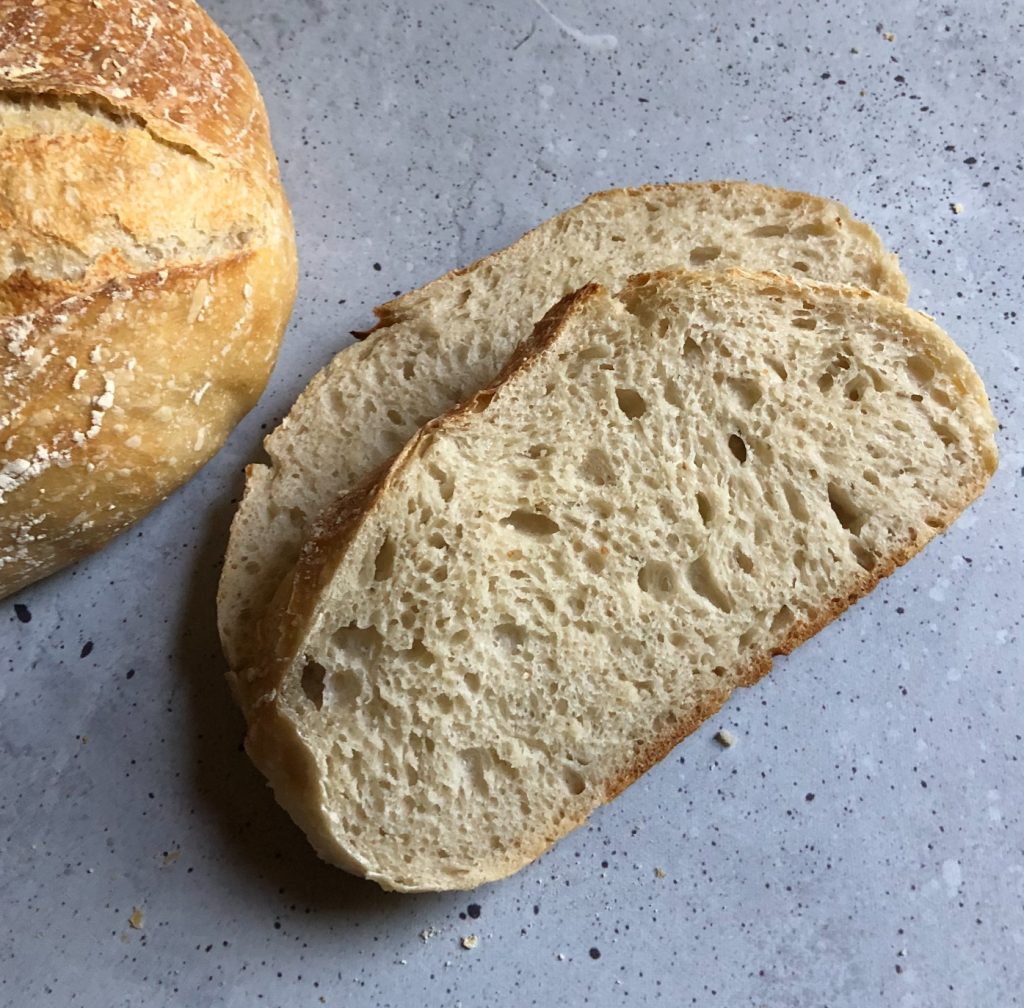
How to Make Sourdough Bread
The first step in making this sourdough bread is to feed your starter. It will be ripe and ready to use anywhere from 6-12 hours after feeding. This varies depending on your kitchen temperature and how vigorous your starter is.
Next you’ll mix the starter and water together in a large sized bowl. Add the flour and salt next. Mix using a spatula, dough hook, or your hands. The dough will look shaggy and rough and that is okay.
Bulk Rise
The next and longest part of making sourdough is bulk rise. You’ll want to let your dough double in size. To develop more strength in your dough you will want to stretch and fold the dough once an hour for the first 4 hours of rise time. So that will total about 4 stretch and folds. You can be fairly flexible with your timing of these.
Shaping
Shaping is a very important part of the process, this is what will help your loaf hold it’s shape during the baking time. I like to do my shaping on a clean countertop with no flour. This is personal preference, it is a bit messier but I’ve found that the loaf comes together easier without flour. Stretch the dough out gently into a rough square. Fold all the sides inward to make a circle.

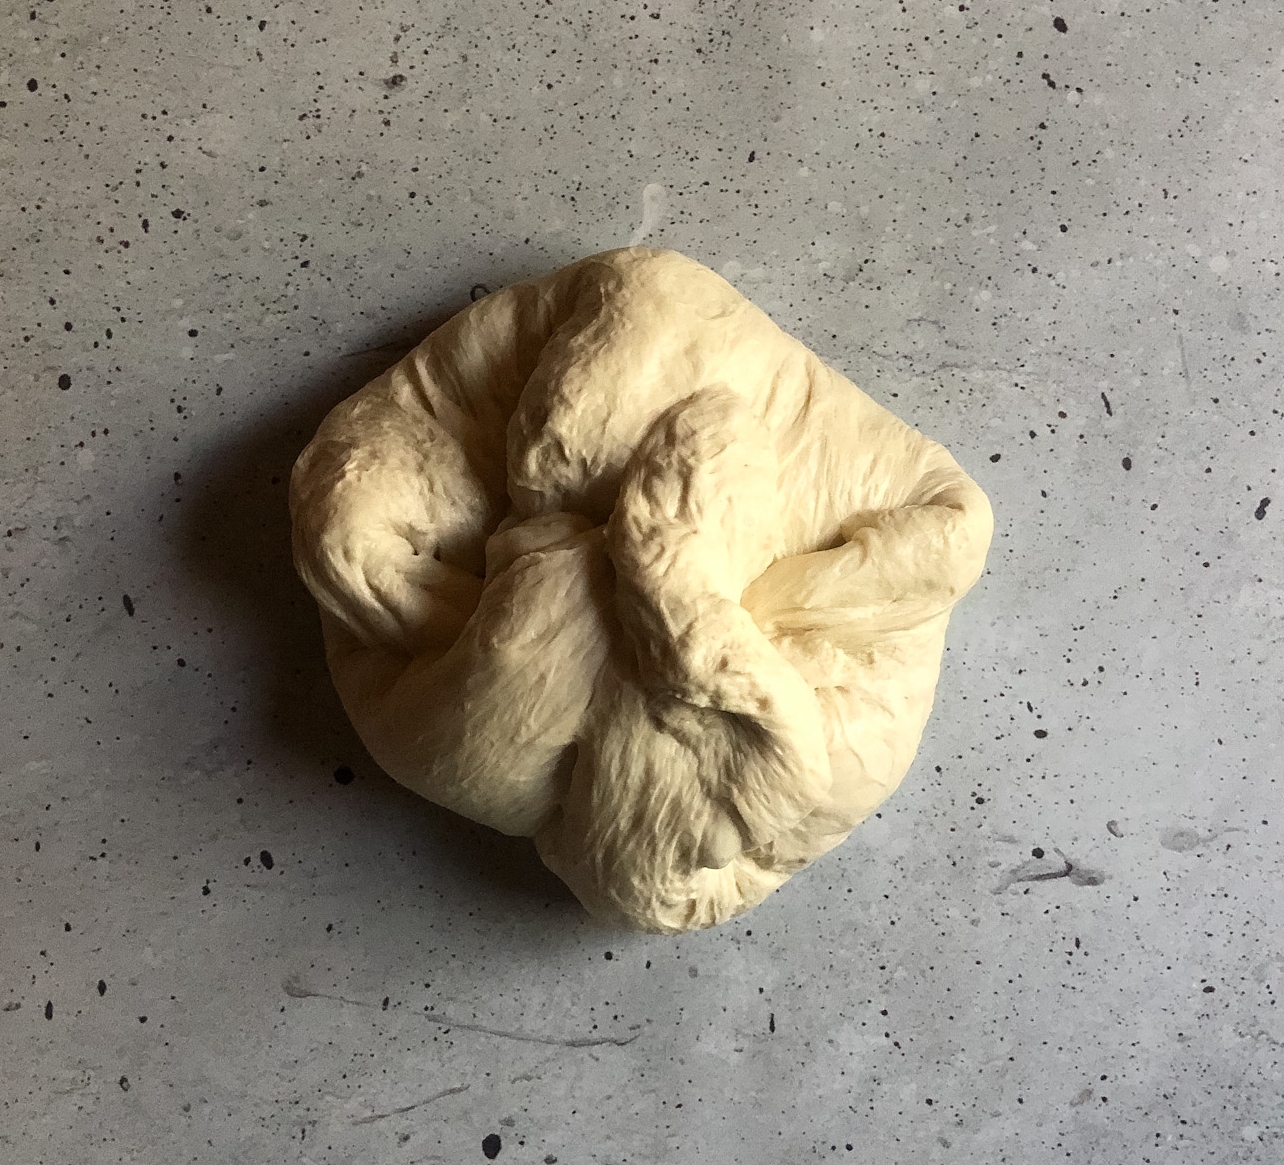
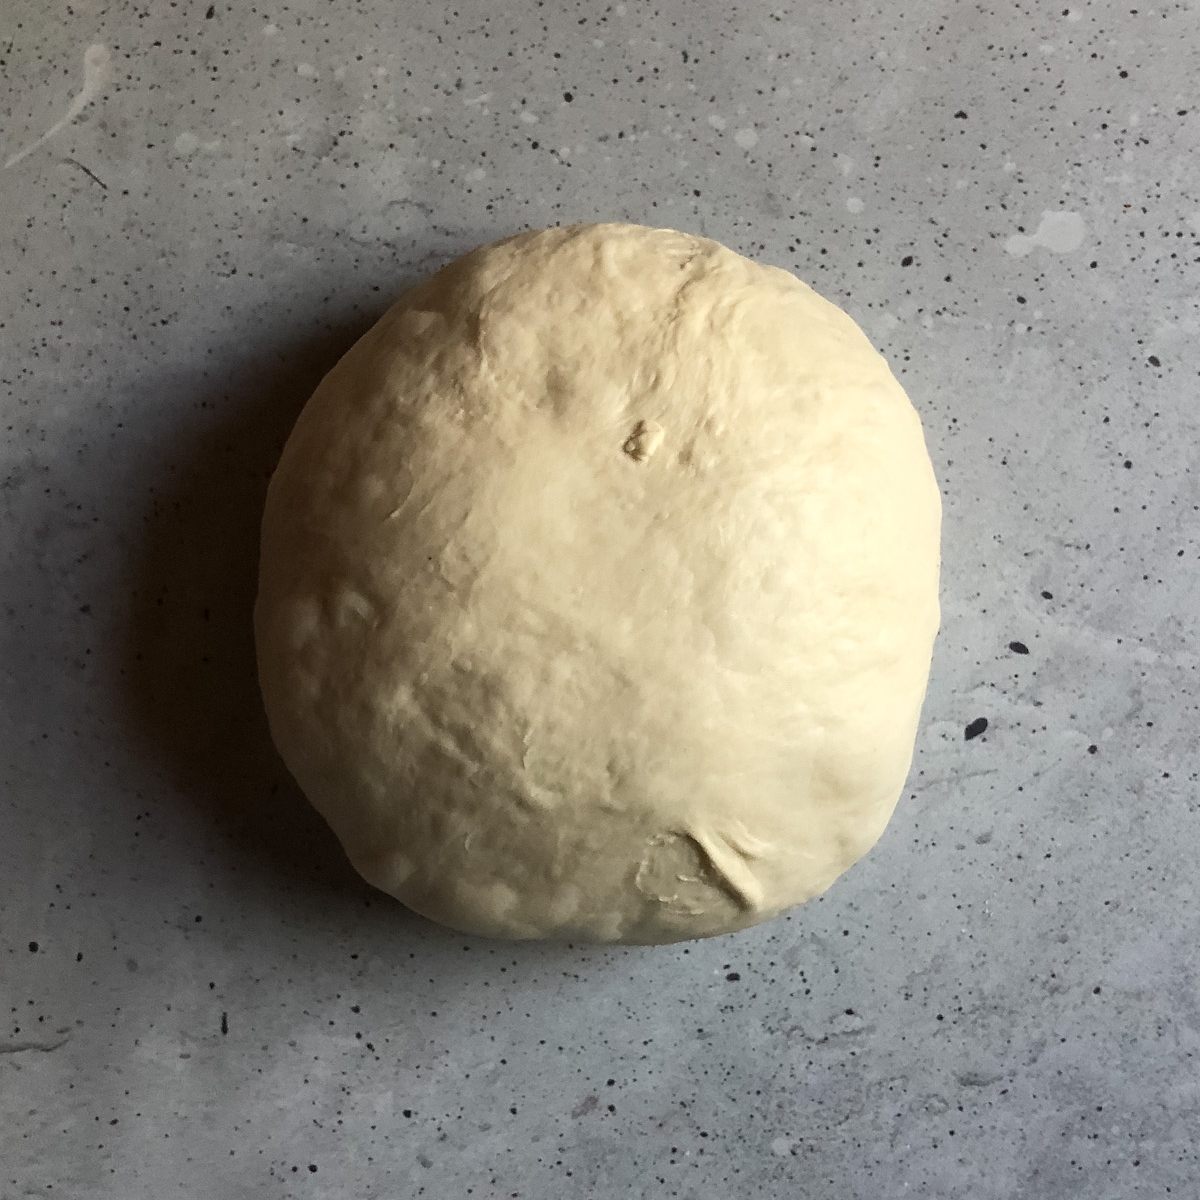
Flip the dough circle over and “drag” or pull the round loaf gently along the countertop. You want to do this gently being careful not to overstretch the dough and “break” the top of it. You will notice that this pulls the sides under and starts to form the dough into a ball. Rotate the dough slightly and pull it towards you again. Keep doing this until you have a neat round loaf. Cover with a towel and let the dough rest 20-30 minutes. After the dough has rested check the shape of your loaf, if it is still neat and round you are ready to move to the next step. If it has flattened out you will want to shape it again once more.

Final Proof
Once your dough is shaped you’ll do the final proof in the fridge. There are a few different vessels you can use for this step. One of them would be in a banneton like this one. Bread bannetons are great because they let the dough breathe during final proof and they also imprint a beautiful spiral pattern on the dough. Just make sure your banneton is floured really well. Transfer your dough into the banneton seam side up then cover with plastic wrap. I like to lightly press the plastic wrap to the seam part of the dough.
If you don’t have a banneton that is fine. You can use a medium bowl or colander lined with a flour dusted towel. Try to pick a bowl that is deeper instead of a bigger around shallow bowl. I like to lay my clean towel flat and rub it with flour until the towel is completely coated. Carefully pick the towel up and place it in your bowl seam side up. Cover with plastic wrap.
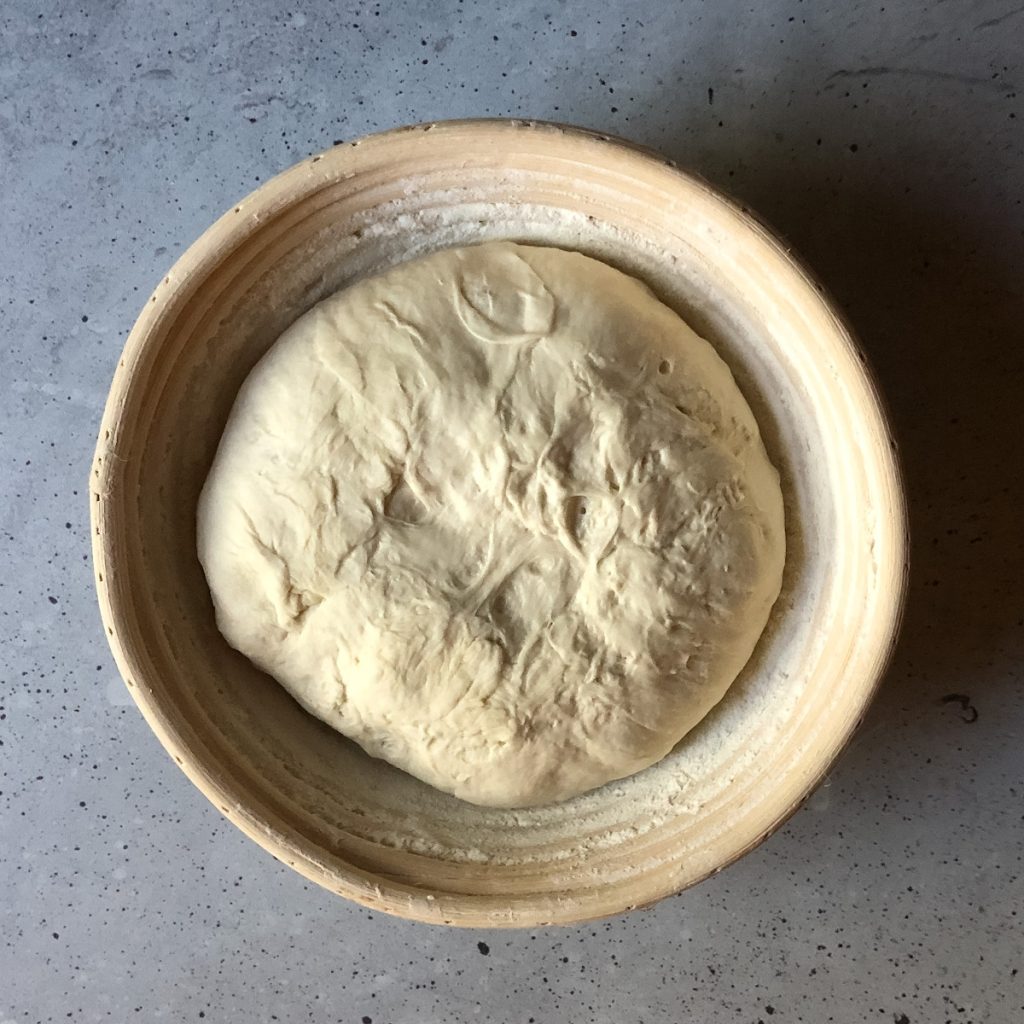
Lastly you will put your dough into the refrigerator overnight to ferment. You can leave your dough in the refrigerator up to two days until you are ready to bake. Be aware that it will become more sour as it ferments.
Bake In Your Dutch Oven
When you are ready to bake place your clean, empty dutch oven into your oven and preheat it to 450 degrees. While the oven preheats take the dough out and let it rest at room temperature. Cut a square of parchment paper big enough to accommodate your dough. When the oven is ready turn your dough out onto the square of parchment paper. Using a sharp knife or lame you will score (cut) the dough. This helps it expand exactly where you want it to as it bakes. It yields a prettier loaf and there are endless options for scoring. Feel free to get creative!
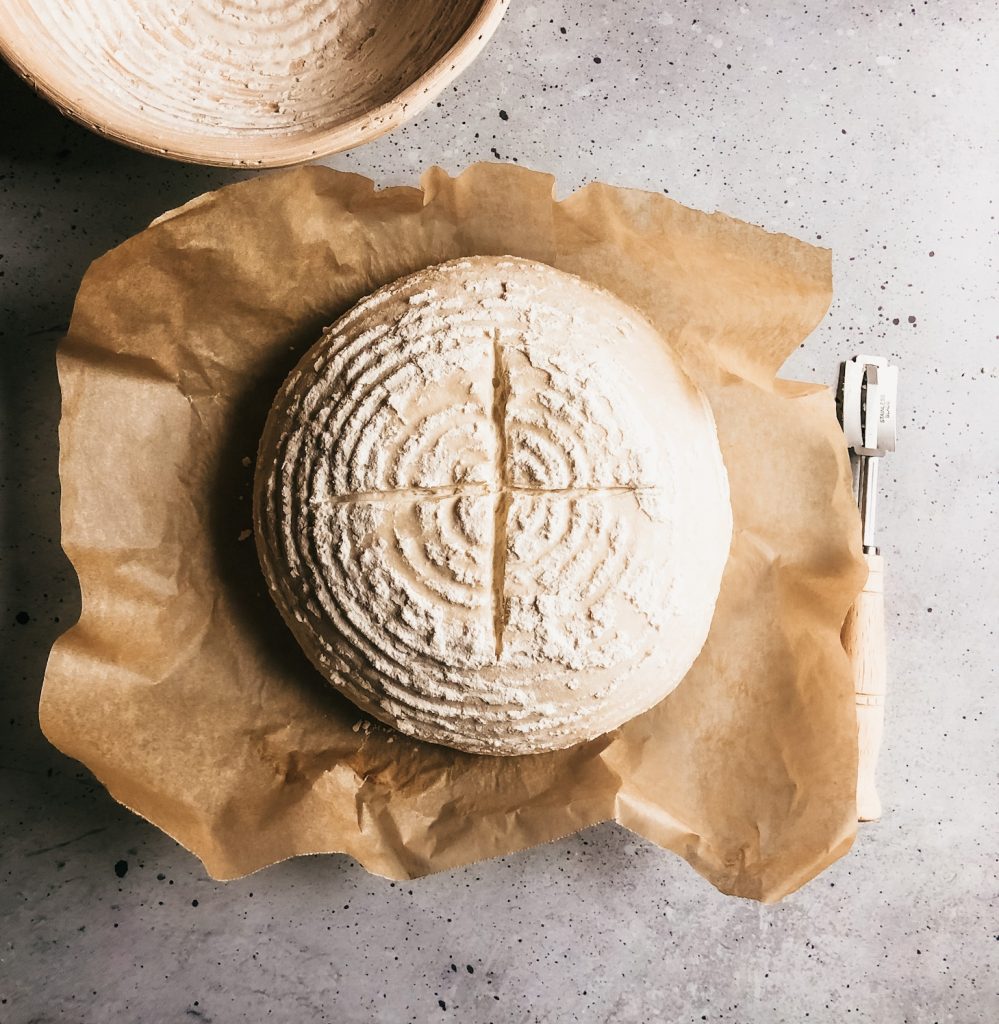
Then you’ll carefully put your dough and parchment paper into the hot dutch oven and replace the lid. Bake 20 minutes covered then 15 more minutes uncovered. Be sure to let your loaf cool a while before slicing.
Dutch Oven Sourdough Bread
Ingredients
- 150 grams sourdough starter (ripe or doubled in size)
- 300 grams water
- 10 grams salt
- 500 grams bread flour (you can also use all purpose if you do not have bread flour)
Instructions
Make the Dough
- Mix the starter and water together in a large bowl until well incorporated.
- Add flour and salt and mix until flour is evenly moistened. The dough will look shaggy at this stage.
- Cover and let rest 30 minutes to 1 hour.
Bulk Rise
- After the dough has rested an hour you will want to stretch and fold the dough. Grab a portion of the dough along the edge of the bowl and pull it upwards. Then fold it over on itself towards the opposite side of the bowl. Rotate the bowl and repeat until you have went all the way around. Cover the bowl.
- Repeat this step 3 more times one hour apart. So for the first 4 hours of bulk rise you will perform 4 stretch and folds. You can be flexible in the timing of these.
- Cover your bowl and let the dough double in size. This will take approximately 8-12 hours depending on the temperature of your kitchen.
Shape
- Turn the dough out onto your countertop or large cutting board. Stretch the dough out until it resists you then fold into a round ball. Drag and pull the ball of dough towards you on the countertop. Turn the dough and repeat until you get a tight round loaf. Let the loaf rest for 30 minutes. After it rests you'll want to check to see if the dough has kept its shape. If it hasn't you'll want to shape it once again in the same way. Be careful not to overstretch the dough and "break" the outer layer.
Second Rise
- Carefully place your ball of dough into a floured banneton or a bowl lined with a floured towel. Make sure you put it in top side down into the bowl. Cover dough with plastic wrap.
- Place into the refrigerator at least 8 hours and up to 48. The dough will become more sour the longer it is left in the refrigerator.
Bake
- Place dutch oven on the lower rack of your oven and preheat to 450 degrees.
- Remove plastic wrap and place a square of parchment paper over the dough. Flip the dough over and out of the banneton or bowl. Score with a sharp knife or lame. One long, deep slash is sufficient but there are endless options for scoring depending on how fancy you want to get.
- Lift the dough and place into your dutch oven. It's easy to do this by holding the sides of the parchment paper and dropping the loaf down into the hot dutch oven. Bake in dutch oven 20 minutes then remove lid and bake for an additional 15 minutes.
- Let the bread cool at least 1 hour before slicing.
